11/27/2020 Administrator
Upgrading Blazor Blogs
Before beginning any upgrade, backup the website and the database that the site is running on.
Step One: Start with an Install of Blazor-Blogs
These directions assume you have a version of Blazor-Blogs installed using the directions covered here:
Installing Blazor-Blogs on Microsoft Azure (Manual Method) or here: Installing Blazor-Blogs on Microsoft Azure (Deploy To Azure Button Method)
IMPORTANT
- Copy down the connection information to the database. You will need it later.
- Save the contents of wwwroot folder, because you will need to replace much of the content of the wwwroot/wwwroot folder when done.
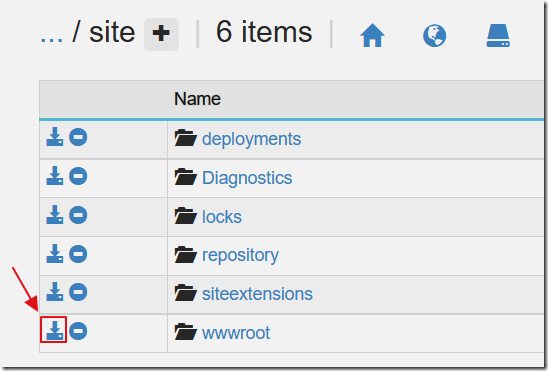
Step Two: Download The Upgrade Package
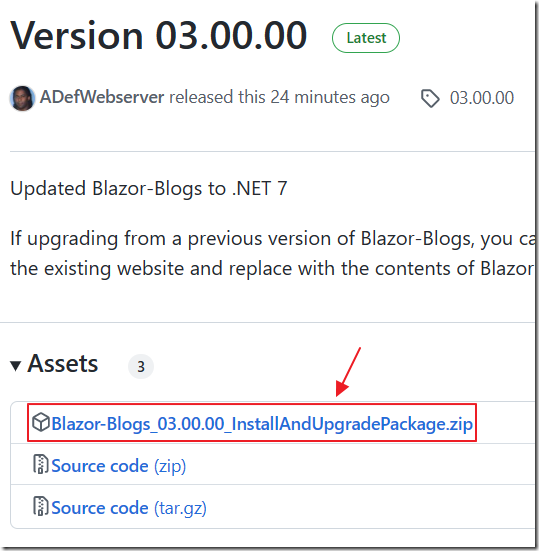
Download the Blazor-Blogs_03.00.00_InstallAndUpgradePackage.zip file from:
https://github.com/ADefWebserver/Blazor-Blogs/releases/tag/03.00.00
Step Three: unzip the contents over the existing version 1.0 installation
(Note: The following upgrade instructions cover a Microsoft Azure deployment)
(Note: If not using Microsoft Azure, ensure that .NET 7 (Or Higher) is installed on the server)
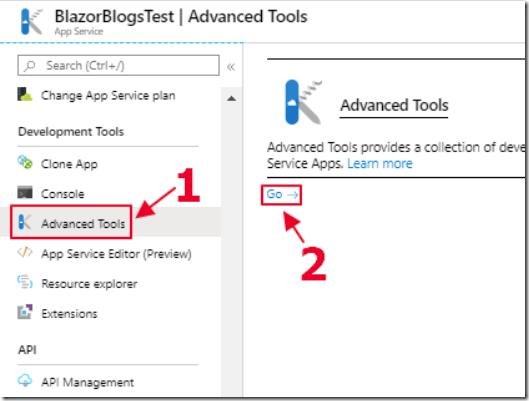
In the Development Tools section, select Advanced Tools, then select Go.
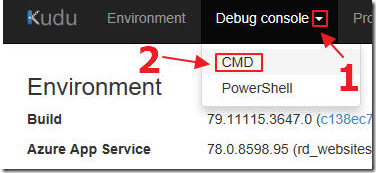
When the Kudu window opens (in a new window), from the Debug console menu, select CMD.

In the previous window, with the Azure Website settings, Stop the website
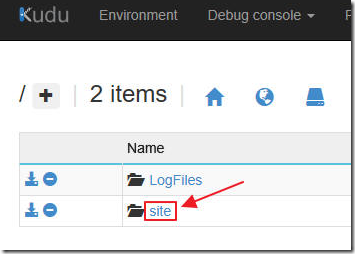
Return to the Kudu window and select site.
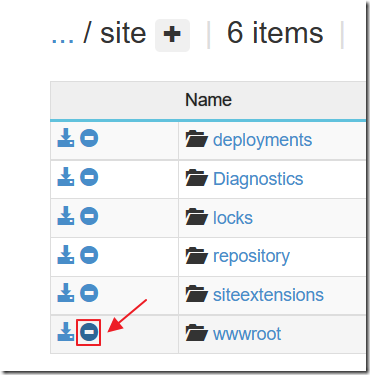
Delete wwwroot (make sure you save the contents first!) .
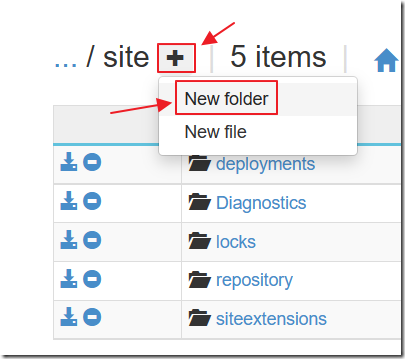
Select New folder.
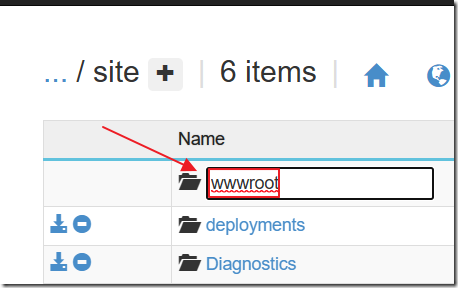
Name the folder wwwroot and press enter.

Click on the wwwroot folder to navigate to it.
Drag the Blazor-Blogs_03.00.00_InstallAndUpgradePackage.zip file onto the web browser window until you see the box that says: Drag here to upload and unzip.
Release your finger on your mouse to drop the .zip file in that box.

The file will be uploaded and unzipped.
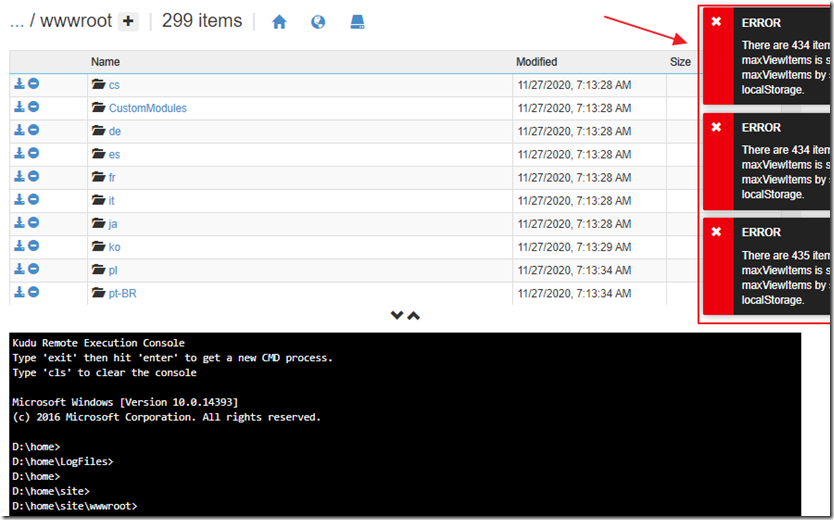
When the process is complete, Error boxes will display that there are more files than can be displayed.
This is normal.
Note: You can also deploy the files to the wwwroot directory using other methods such as FTP.

Start the website.

Navigate to the root of the site in your web browser.
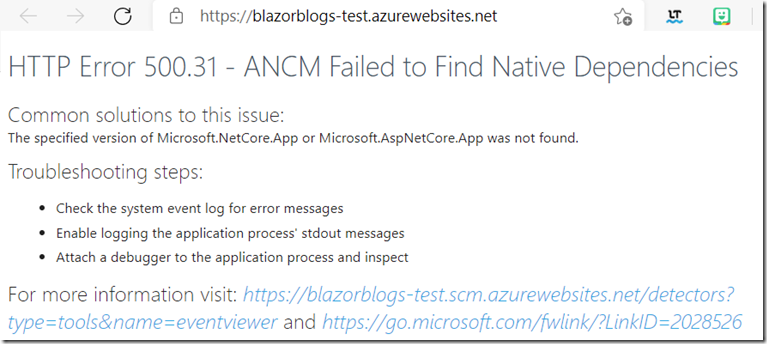
If you get an error, this is normal.
Click on the link presented, to log back into to Azure portal to see additional details, or…
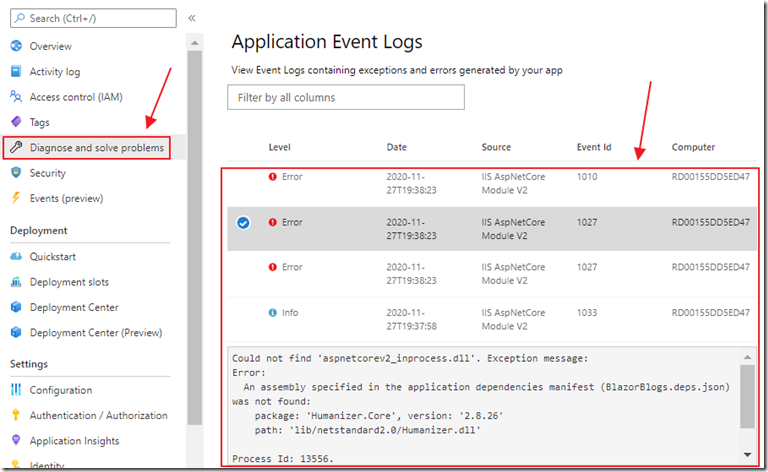
…log into portal.azure.com directly, and navigate to the Diagnose and solve problems section to see the details of any error.
If any of the error messages are one of the following:
- Unable to locate application dependencies. Ensure that the versions of Microsoft.NetCore.App and Microsoft.AspNetCore.App targeted by the application are installed.
- Could not find 'aspnetcorev2_inprocess.dll'. Exception message: Error: An assembly specified in the application dependencies manifest (BlazorBlogs.deps.json) was not found: package: 'Humanizer.Core', version: '2.8.26' path: 'lib/netstandard2.0/Humanizer.dll'

Drag and drop the install package again.

Navigate to the root of the site in your web browser again.
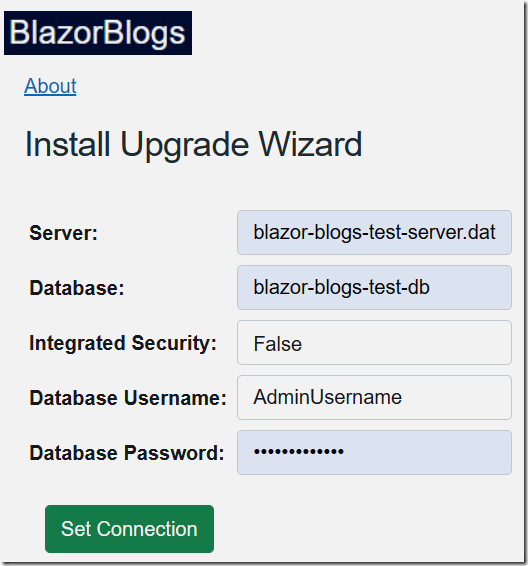
The Install Upgrade Wizard will show.
Fill in the information to connect to the original database.

If you get "Connection settings are not valid" and you know the connection settings are correct…
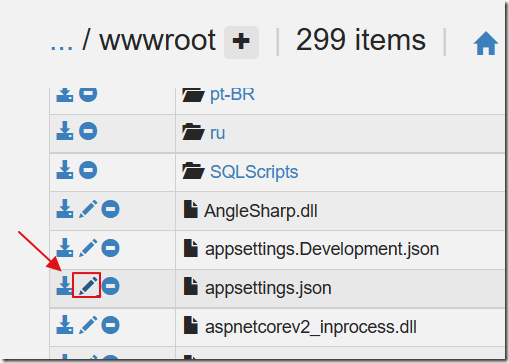
Edit the appsettings.json file
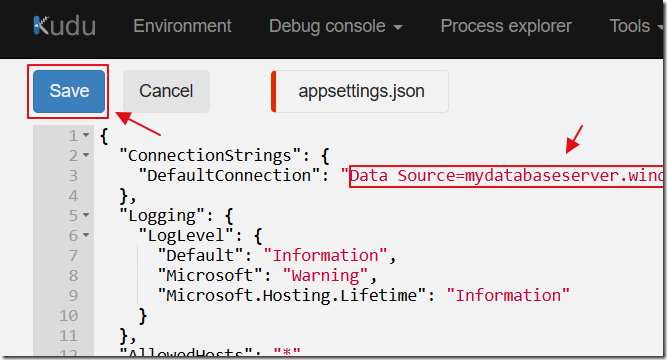
Edit the DefaultConnection and Save the file.
Then, in your web browser, navigate to the root of the site.
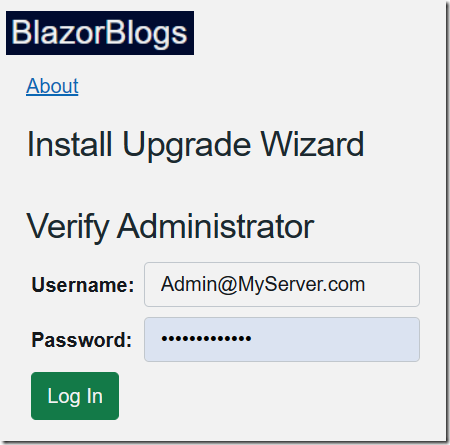
Log in as the Blog Administrator.

The site will detect that there are upgrade scripts to process and it will process them.
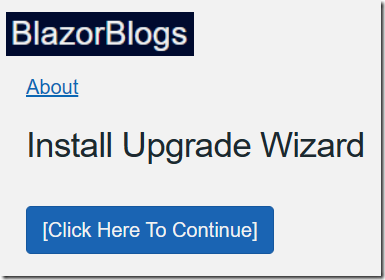
When the processing is complete, you will be presented with a button to Click Here To Continue.
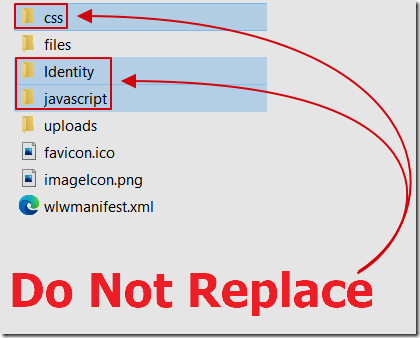
Replace the files and sub directories from the wwwroot/wwwroot folder but do not replace the _content, css, Identity, or javascript folders.
You may find it easier to FTP the files.
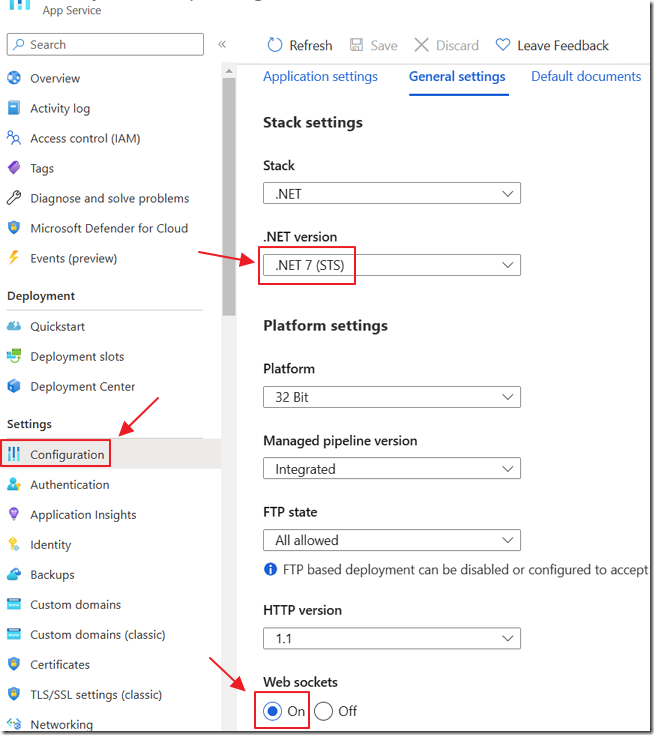
Finally, in Azure Website Configuration, ensure .NET 7 (or Higher) is selected, and Web sockets is turned n.
