5/3/2020 Administrator
Installing Blazor-Blogs on Microsoft Azure (Deploy To Azure Button Method)
Requirements:
-
A Microsoft Azure Account (you can create one at this link: https://azure.microsoft.com/en-us/free/)
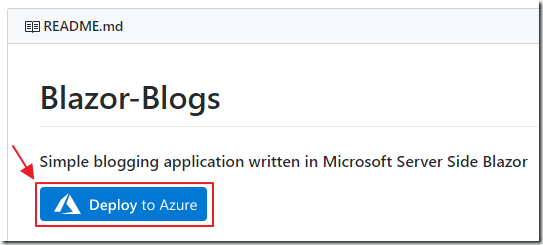
Go to: https://github.com/ADefWebserver/Blazor-Blogs and click on the Deploy to Azure button.
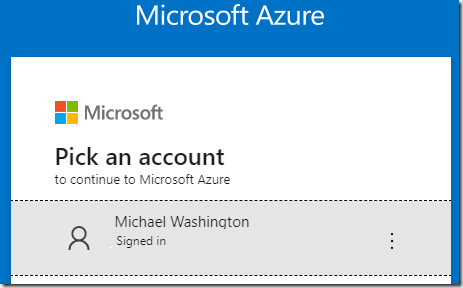
Log into Azure.
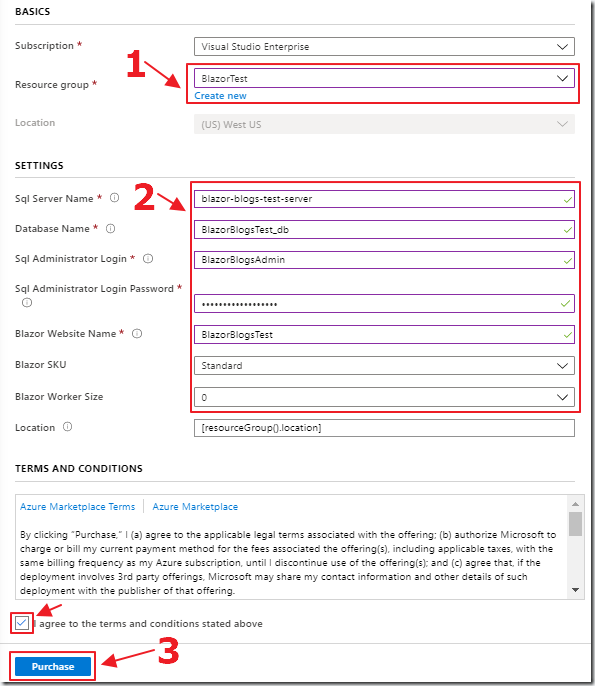
Fill in the values and click the Purchase button.
- The values for Sql Server Name and Blazor Website Name must be unique to any other values on Azure.

The deployment will start…
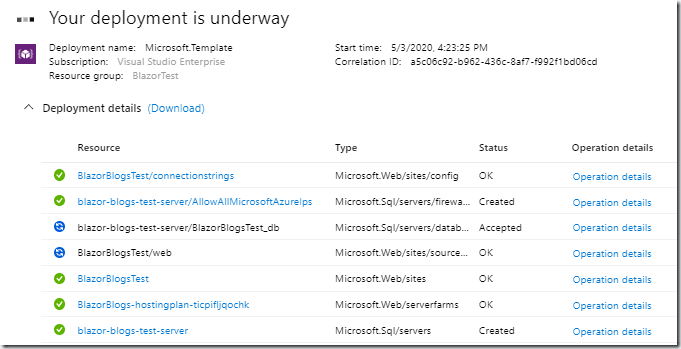
When it is complete it will indicate Success.
(Note: This can take 5-10 minutes)

Click on the Overview tab of the App Service, click on the URL link to navigate to the website.

After a minute the website will show and install the scripts.
The scripts will run to create the database objects.
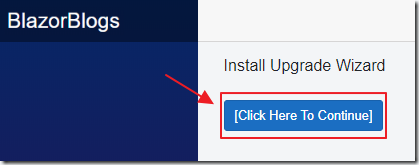
When the scripts are complete, click the Click Here To Continue button.
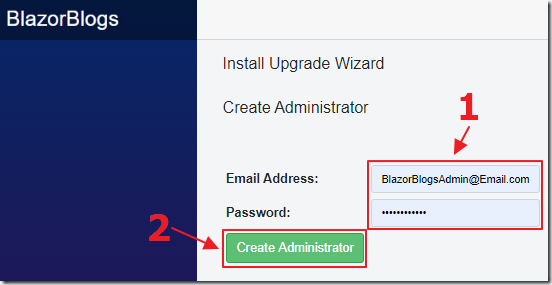
Enter the information for an Administrator account.
Note: Ensure the Password entered is a strong password (8 characters with an upper and lower case character and a non alphanumeric character).
Click the Create Administrator button.
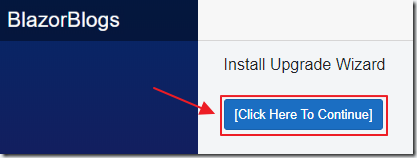
When the account is created, click the Click Here To Continue button.
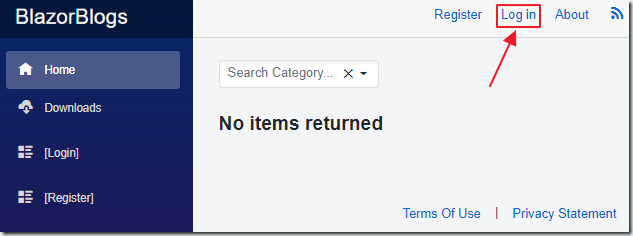
The site will show.
Click the Log in button.
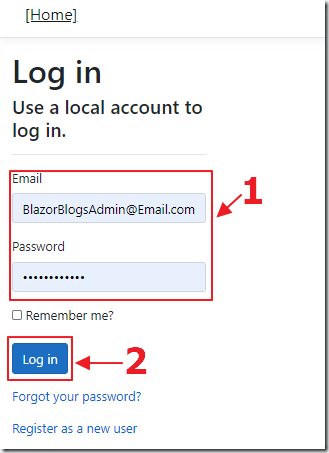
Log in with the Administrator account.
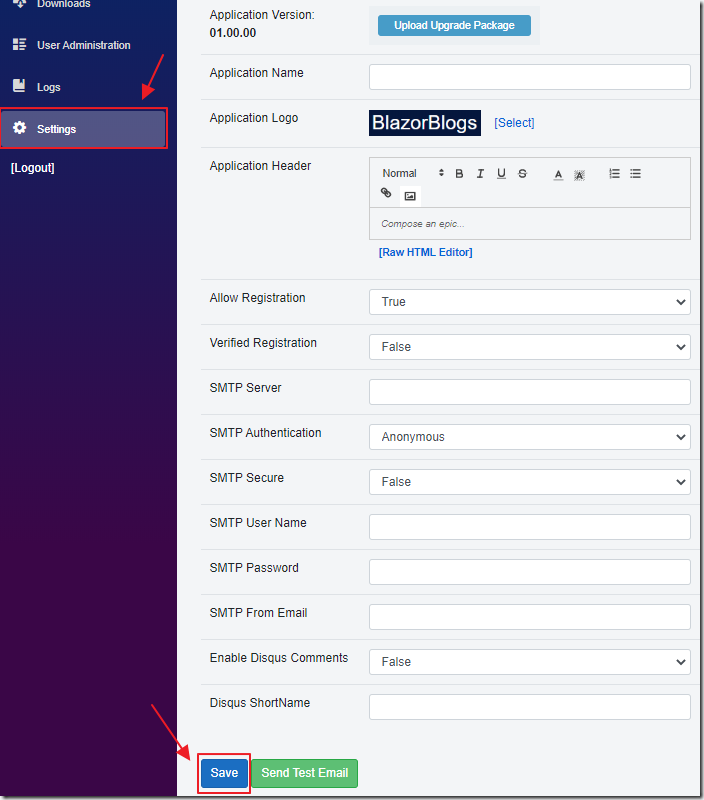
Navigate to the Settings page.
Set up options such as Allow Registration and Verified Registration.
If you have Verified Registration, you must set up the email (SMTP) settings.
To test the email settings, click Send Test Email.
For instructions on Enabling Disqus Comments (to allow users to comment on your blog posts) see: Enabling Disqus Comments In Blazor Blogs.
When complete, click the Save button to save all the settings.
